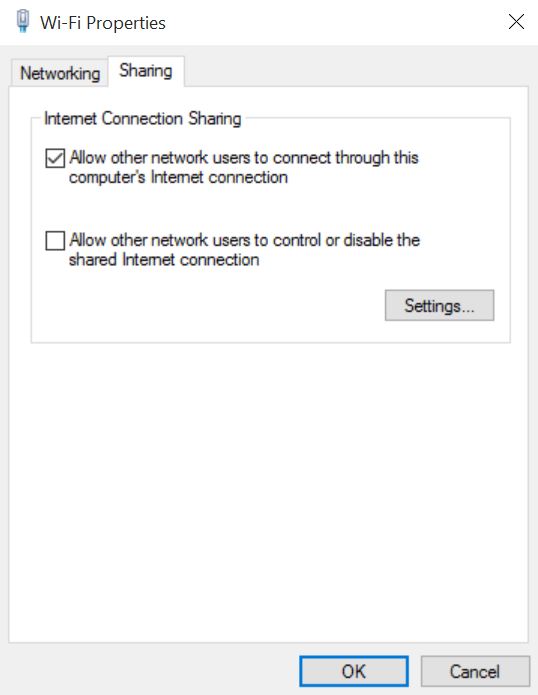
You just got yourself a Raspberry Pi 2 (RPi 2). You could be running Raspbian or Windows 10 IoT Core. You don’t have access to a hub/switch/router to connect the RPi 2 for Internet connection. The next best solution is by connecting the RPi 2 to your PC via Ethernet and sharing your Wi-Fi’s internet connection via Internet Connection Sharing (ICS). When you go to the Wi-Fi adapter properties, you got some bad news:
What do you do? Here’s a workaround which is definitely NOT endorsed by your friendly network administrator, but it works. NOTE: This workaround is NOT permanent and it is not meant to flout your network administrator’s group policy because they are rules for good reasons; security, etc.
- To enable sharing on the WiFi adapter, run the following command in a Command Prompt run as Administrator.
netsh wlan set hostednetwork mode=allow
- Run regedit. Go to Computer\HKEY_LOCAL_MACHINE\SOFTWARE\Policies\Microsoft\Windows\Network Connections. Edit NC_ShowSharedAccessUI, and enter 1 in value data.
- Go back to Wi-Fi adapter properties, now you will see the Sharing tab. In case you don’t see the Sharing tab, this could be due to the reason that you have not connected your Ethernet adapter (for those that comes in a USB dongle). You need at least two network adapters to be present in order to do ICS. Check the box that says “Allow other network users to connect through this computer’s Internet connection”.
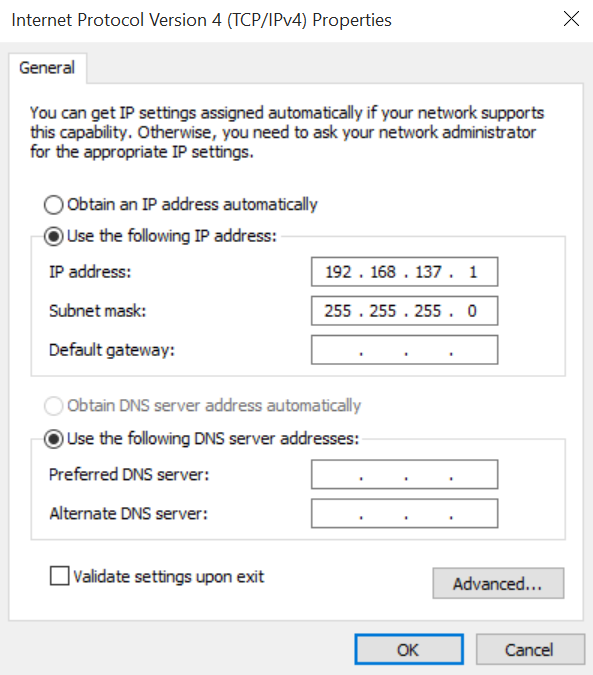
- Go to your Ethernet adapter properties. Check out the Internet Protocol Version 4 (TCP/IPv4) Properties. You will see the following preconfigured for you. Do not change these settings.
- Connect the network cable between your Raspberry Pi 2 and your Windows 10 machine via the Ethernet port.
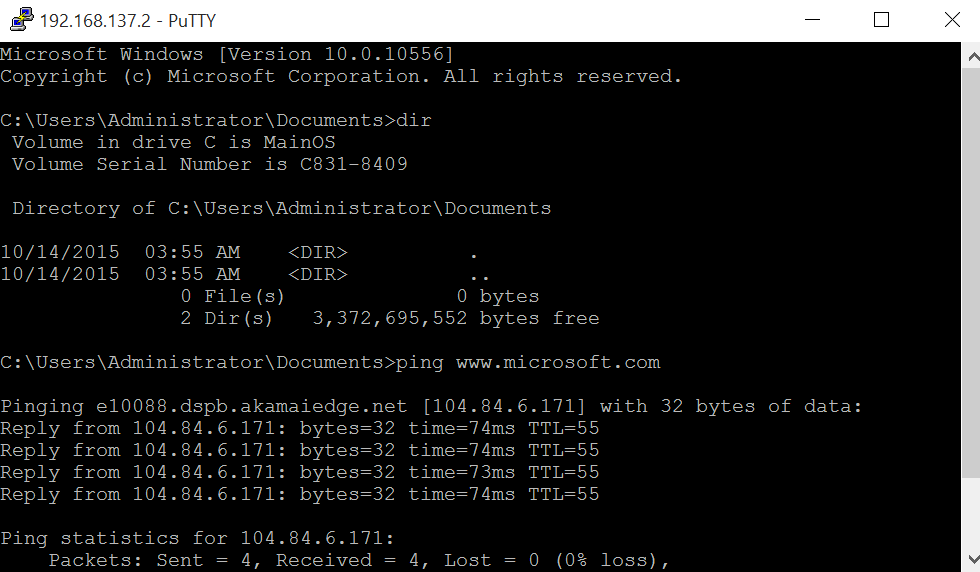
- When you start up your Windows 10 IoT Core on your Raspberry Pi 2, you will see that the IP address is dynamically set to an IP address like 192.168.137.2. Voila, this means that you have Internet connection shared with your RPi 2.

7. Follow the PowerShell documentation here to use PowerShell to connect to your running device. You can also follow the instructions here to use SSH to connect to your device.
From <http://ms-iot.github.io/content/en-US/win10/SetupRPI.htm>
- To make sure ICS is enabled properly, just ping any Internet site.
To start sending events from Windows 10 IoT Core to Azure IoT Hub:
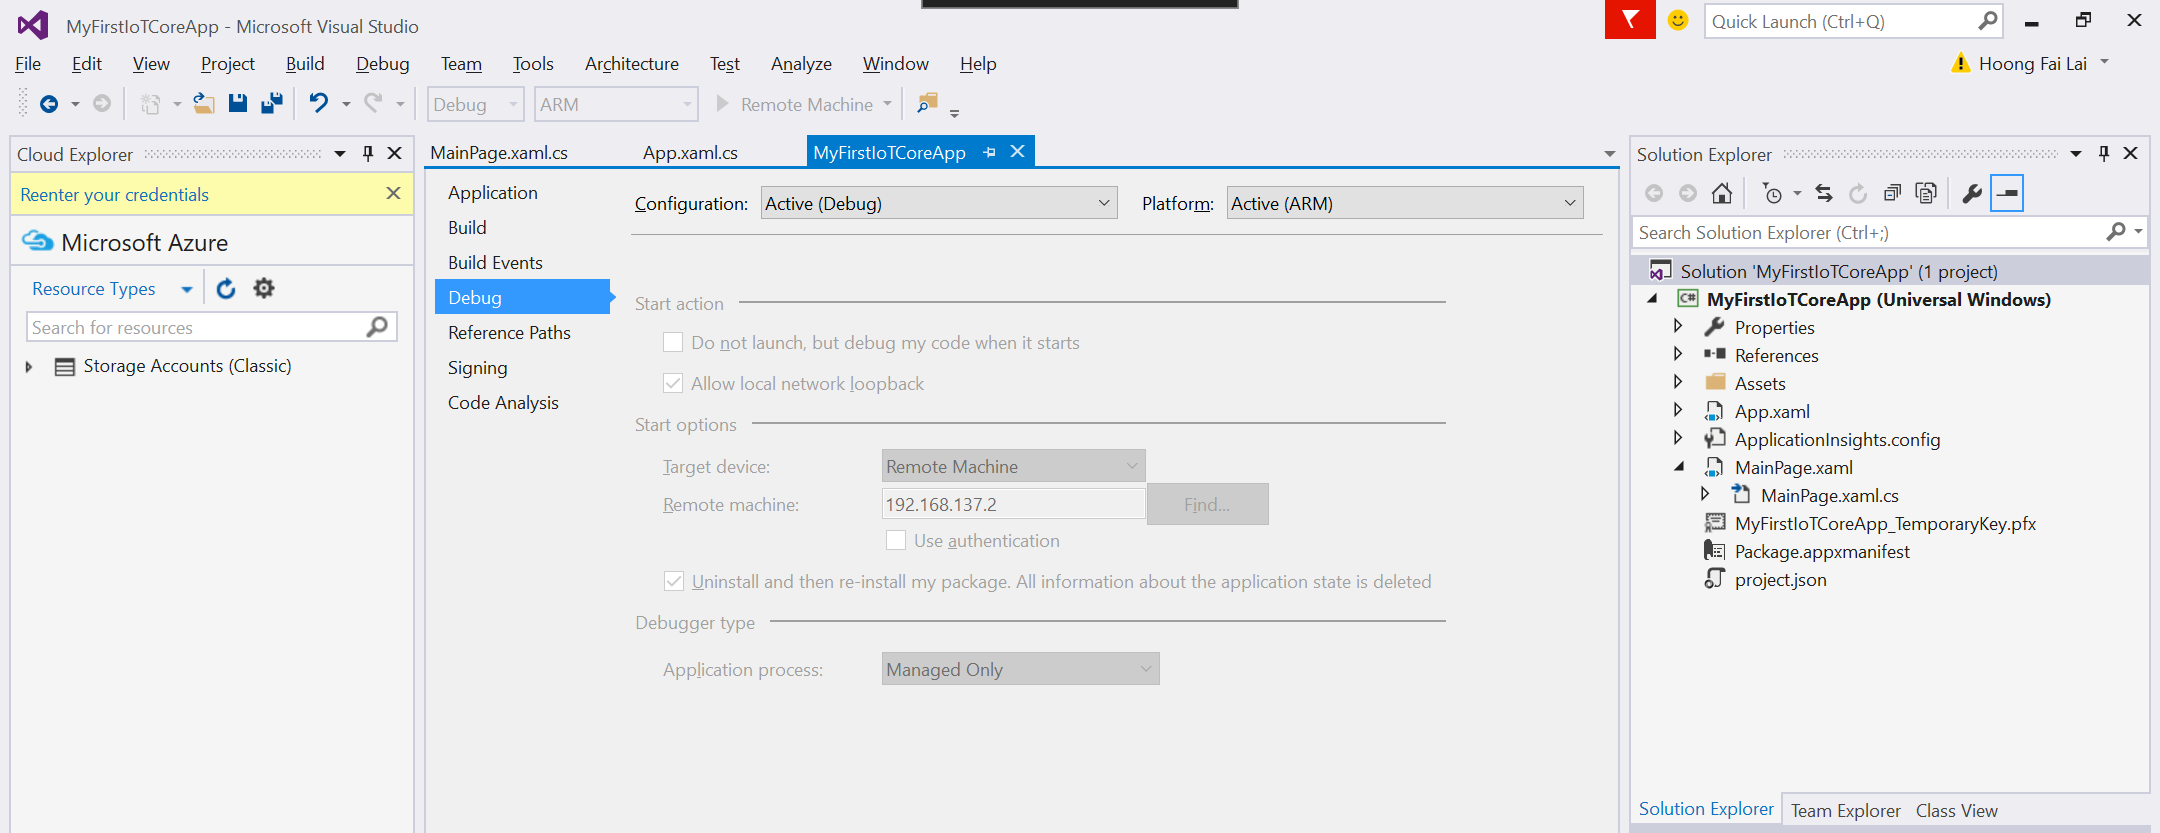
Configure remote machine IP as 192.168.137.2, or any other IP address which you got from Step 6. Run your project.
Check Device Explorer for event has been received at the IOT Hub.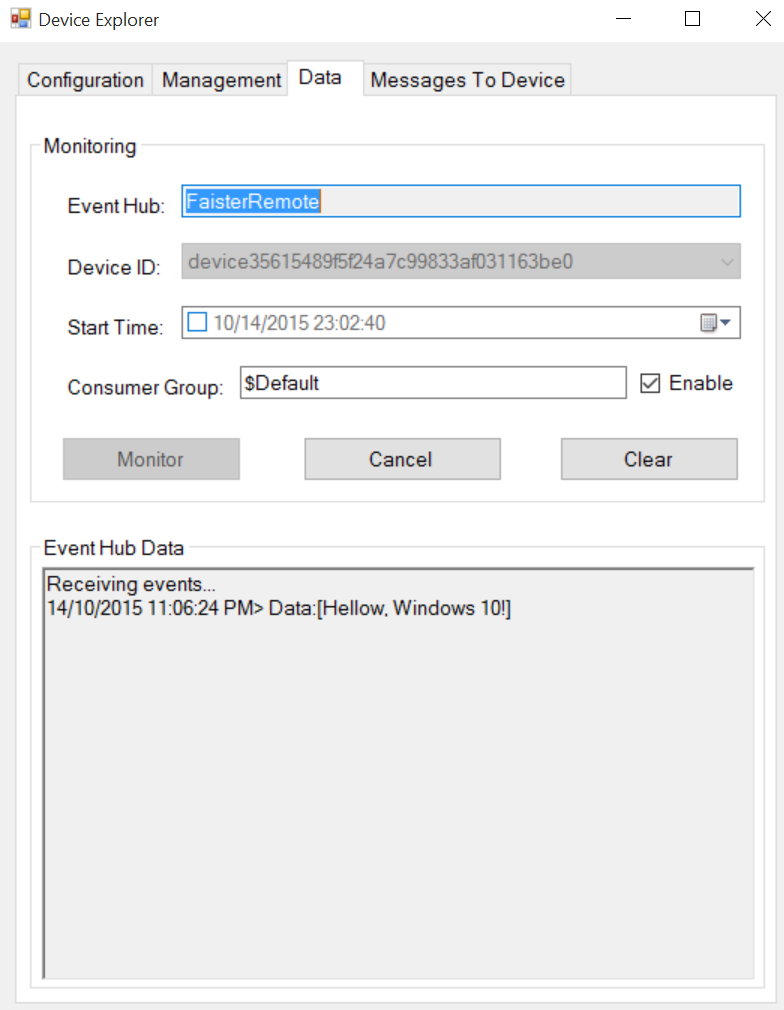
Finally, a word of caution. If you don’t see ICS sharing available in your Wi-Fi adapter settings anymore, this is because the group policy has been re-applied to your machine. That’s ok, it’s meant to protect your machine after all. When you need to enable ICS for another instance, just re-do the steps above.