When I stumbled upon the MCP9808 precision temperature sensor, I was sold based upon its promise of up to 0.25 degrees Celsius accuracy. Just like my Freescale Xtrinsic sensor board, there’s a Python library that that allows me to use the MC9808 temperature sensor with my Raspbbery Pi.
My one and only challenge was doing a proper soldering work because the MCP9808 temperature sensor board comes as a breakout board. I referred to this tutorial to prepare the header strip (with the pins) that comes with the sensor board, inserted it into my breadboard, placed the breakout board over the pins, and solder! It was tough. Being a software guy, there is a big mental hurdle because there is not much undo feature or “let’s try to step into this code to see if it works or fails”. It’s a big challenge to hold a soldering iron and try not to apply too much heat when trying to apply solder onto the pins, else the sensor board would be toast.
The end result: I did a better job with the first breakout board (I bought 3 sensor boards as contingency), and the other two boards were not so lucky under the soldering iron.
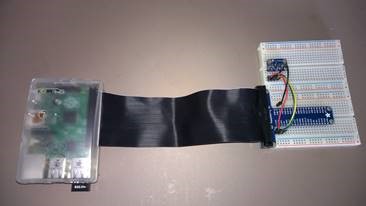
Here’s what the MCP9808 sensor looks like on my breadboard with the 4 connections to my Raspberry Pi through the very usefulT-Cobbler Plus connector.

Here’s a photo of the GPIO cable nicely coming out of my Raspberry Pi clear case and connecting to the T-Cobbler Plus.
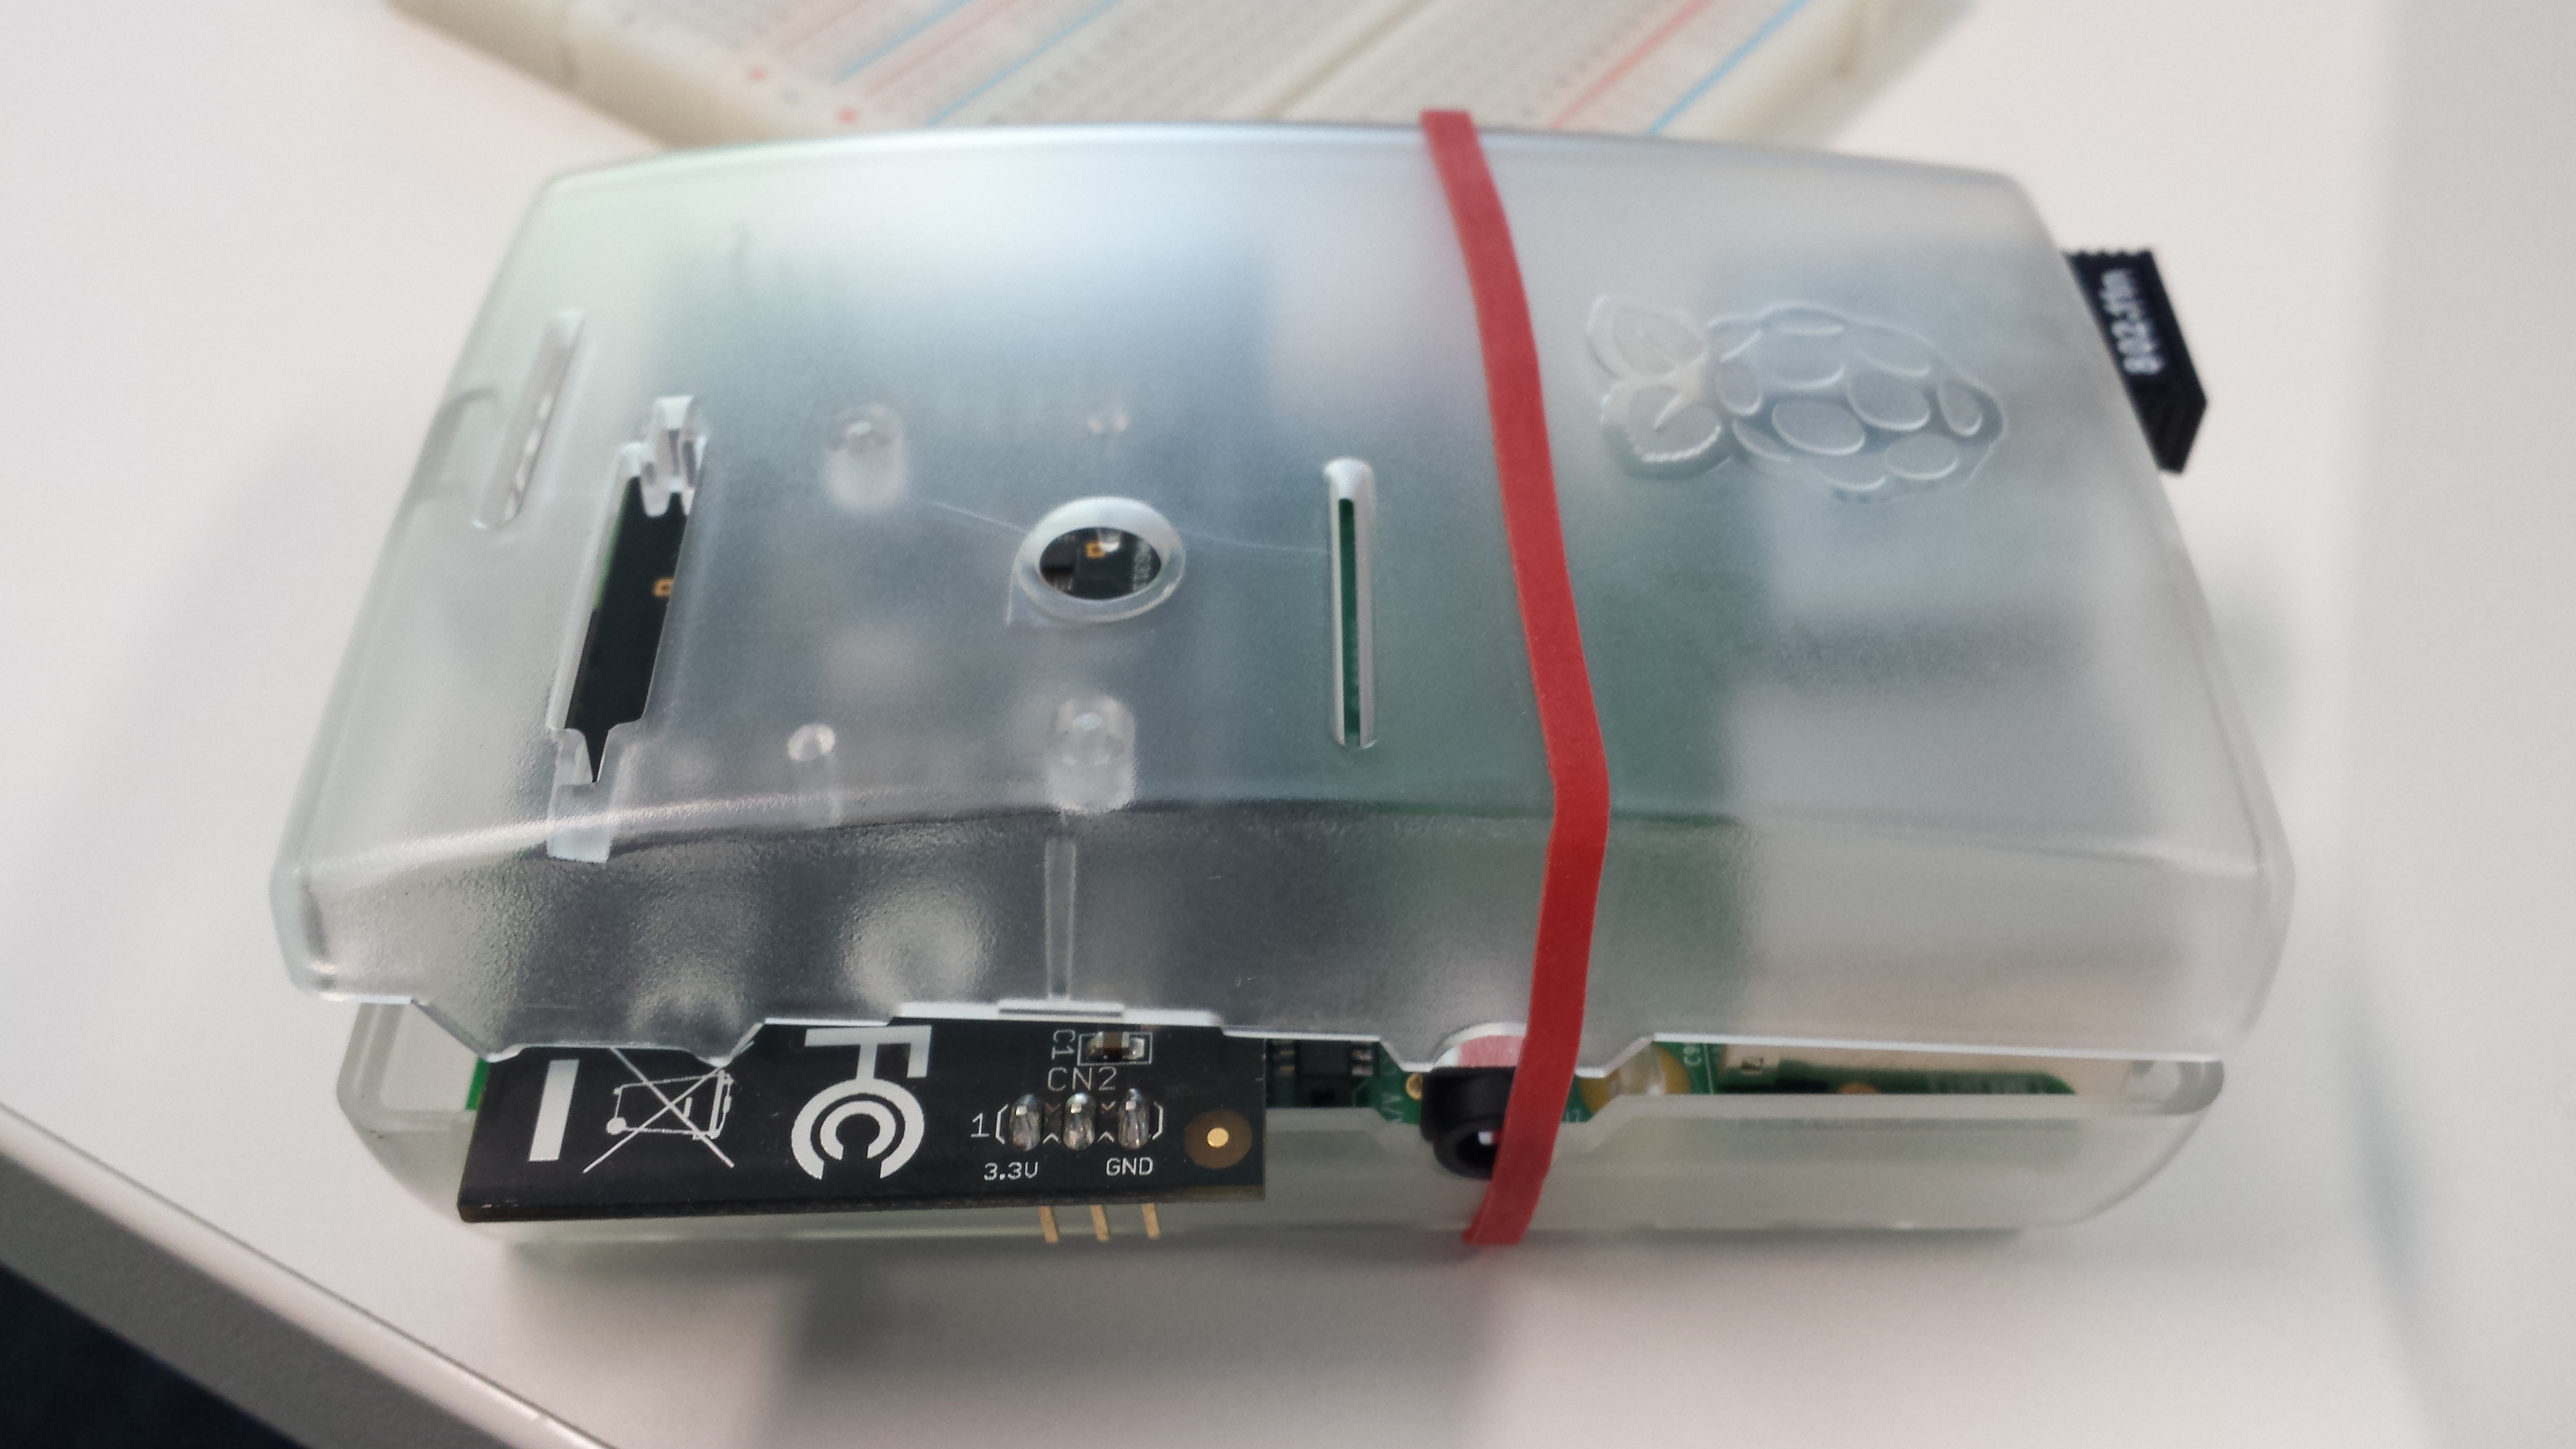
Here’s a “creative way” of making sure the clear case cover still protects most of my Raspberry Pi even with the protruded Xtrinsic sensor board. Priceless 🙂
In my follow up post, I will describe how I send the temperature data stream to an Azure Event Hub, and then do simple analytics of the data on transit using Azure Stream Analytics.